
Staircase painting has outlasted most other quick home update trends of the last decade, and there’s a simple reason for it. Unlike a full renovation, which demands new materials and a real budget, repainting a staircase takes a weekend and mostly relies on paint already suited to high-traffic surfaces. It works in older homes as easily as new builds, and it transforms one of the most-used areas of a house without touching a single structural element.
The fourteen ideas below cover the full range, from simple single-color updates to more involved multi-tone treatments. Each one notes the staircase style and home type it suits most, along with the technique or product that keeps it looking sharp under daily foot traffic.
Painted Risers, Stained Treads: The Original Contrast Look

Painting the vertical risers a solid color while leaving the horizontal treads in their natural stained wood is the combination most people try first, and it remains the most universally flattering version in the category, mostly because it keeps the durability of stained wood exactly where feet make contact while still introducing color to the staircase.
Traditional and farmhouse-style homes suit it best, since the contrast between painted risers and warm wood treads echoes a classic look already common in that style of interior. It works particularly well with a crisp white or soft cream on the risers, because the lighter tone brightens the stairwell without competing with the wood grain visible on each tread. A durable, scuff-resistant enamel paint applied to the risers, rather than standard wall paint, is what keeps the color looking clean despite regular contact from shoes and cleaning tools.
All-White Staircase: Bright, Clean, and Timeless

Painting the entire staircase — risers, treads, stringers, and handrail — a single crisp white creates a bright, cohesive look that reads as timeless rather than tied to a specific decor trend. This is the safer entry point for anyone wanting a dramatic change without introducing a bold color they might tire of later.
This works particularly well in darker stairwells or homes with limited natural light, since the all-white surface reflects available light rather than absorbing it. A hardwearing floor-and-porch enamel, rather than standard interior wall paint, is essential for the treads specifically, since that surface takes far more direct impact than any other part of the staircase. This idea suits nearly any home style, from coastal to modern to traditional, since white remains one of the few colors that doesn’t clash with an existing palette.
Bold Accent Color on the Risers: A Pop of Personality

Choosing a single bold, saturated color for just the risers — while keeping the treads, stringers, and handrail in a neutral tone — introduces personality and visual interest without overwhelming the entire staircase. Because only the riser faces are visible from most angles as you walk up or down, this treatment reads clearly without needing to cover the whole structure.
This works particularly well in entryways and open staircases visible from the main living area, since the color becomes a focal point that’s visible even from adjoining rooms. A satin or semi-gloss finish, rather than fully matte, on the risers helps the bold color catch light and read as more vibrant than a flat finish would. This idea suits homeowners comfortable committing to color, since a bold riser shade is more noticeable and harder to visually undo than a neutral update.
Striped Risers: A Playful, Graphic Pattern

Painting alternating stripes across the risers, either in two contrasting colors or in varying shades of the same hue, introduces a graphic, rhythmic pattern that plain single-color risers don’t achieve. The repetition of the stripes as you move up the staircase adds visual movement that’s noticeable from a distance.
Precise measuring and taping before painting is the detail that decides the whole result, since uneven stripe widths are immediately noticeable on a surface viewed repeatedly at close range. A painter’s tape rated for clean removal, rather than standard masking tape, prevents the paint from peeling away in patches when the tape comes off. This idea suits modern and eclectic homes particularly well, since the graphic pattern leans toward a more playful, contemporary aesthetic than a traditional one.
Ombre Staircase: Gradual Color Transition Step by Step
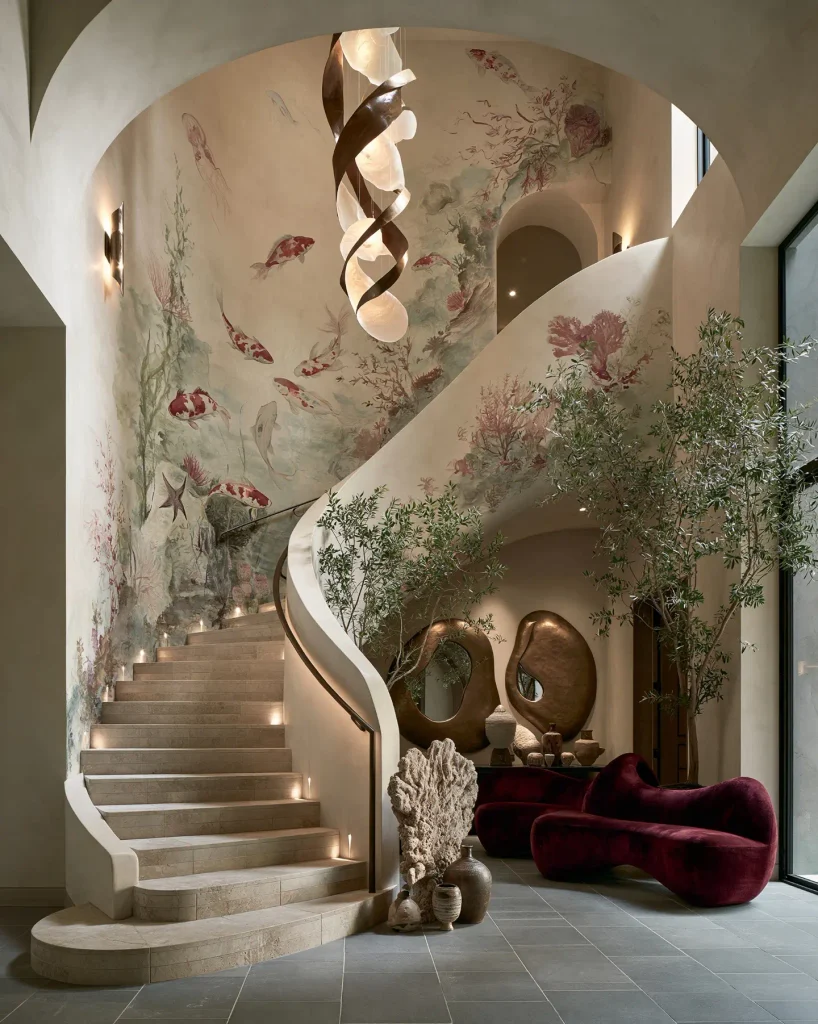
An ombre staircase transitions gradually from a darker shade at the bottom step to a lighter shade at the top, or the reverse, rather than using one flat color throughout. The gradual shift adds dimension that a single color can’t replicate, and it creates a striking visual effect when viewed from either the bottom or top of the stairs.
Mixing custom paint ratios between each step, blending slightly more of the target color into the base with every riser, is what creates a smooth transition rather than abrupt jumps between shades. This technique takes considerably more planning than a single-color paint job, since the exact ratio needs to be calculated and recorded before starting. This idea suits staircases with a higher number of steps especially well, since more risers allow for a smoother, more gradual gradient than a shorter staircase would.
Black Staircase: Dramatic and Modern

Painting the entire staircase in matte or satin black creates a dramatic, high-contrast statement that works particularly well as an anchor in an otherwise light and neutral home. The darker tone gives the staircase a sculptural quality, making it read as a design feature rather than simply a functional element connecting floors.
This works particularly well in homes with plenty of natural light elsewhere, since the black staircase benefits from having brighter surrounding spaces to contrast against rather than sitting in an already dim stairwell. A durable, low-sheen enamel is worth prioritizing on the treads specifically, since black surfaces show scuffs and dust more visibly than lighter colors and need a finish that resists marking. This idea suits modern and industrial-style homes especially well, though it can work in more traditional spaces when paired with warmer wood tones elsewhere on the stairs.
Two-Tone Stringers and Risers: Layering Color Across Different Surfaces

Painting the stringers — the angled side boards supporting the staircase — in a different color from the risers introduces a second layer of color without covering the whole structure in one flat tone. This approach works well when the two colors share a similar depth or undertone, since closely related shades read as intentional pairing rather than mismatched sections.
This works particularly well on open staircases where the stringers are fully visible from the side, since a closed or boxed staircase hides most of that surface from view. A slightly darker tone on the stringers than the risers tends to ground the staircase visually, giving it a sense of structure from below. This idea suits open-concept homes especially well, where the staircase is viewed from multiple angles rather than enclosed within a stairwell.
Painted Handrail as a Standalone Accent: A Small Detail With Outsized Impact
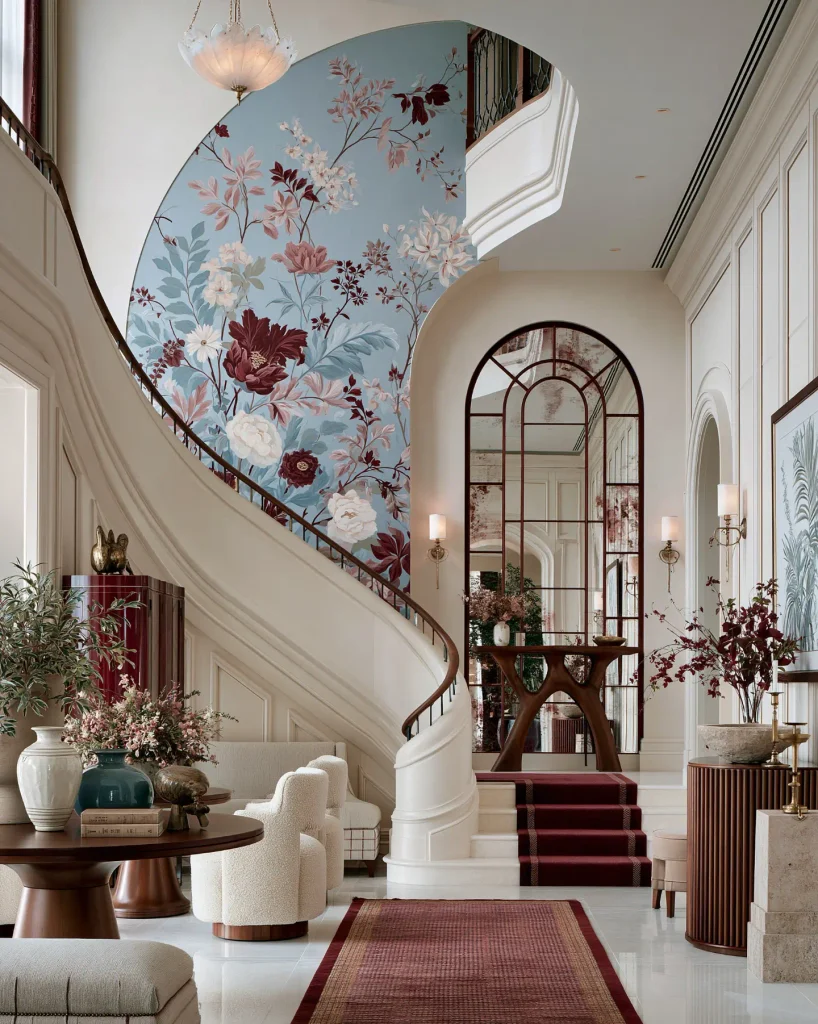
Painting just the handrail in a contrasting color, while leaving the rest of the staircase in its existing finish, is one of the smallest updates on this list but often has a disproportionately large visual impact, since the handrail is touched and viewed constantly by anyone using the stairs. A single afternoon is usually enough to complete this change from start to finish.
This works particularly well when the existing staircase finish is in good condition and doesn’t need a full repaint, making this idea a lower-cost alternative to repainting the whole structure. A paint specifically formulated for high-touch surfaces, rather than standard wall paint, holds up better against the oils and repeated contact a handrail receives daily. This idea suits any home style, since the handrail can be painted in a shade that either matches or intentionally contrasts with the surrounding decor.
Herringbone or Geometric Pattern on Risers: A More Intricate Statement

Painting a herringbone, chevron, or other geometric pattern across a series of risers turns the staircase into a genuine design feature rather than a simple color update. This is one of the more involved ideas on this list, since the pattern typically needs to be planned out and taped section by section across each individual riser.
Consistent angles and spacing across every riser matter more here than in almost any other painting idea, since a pattern that shifts slightly from step to step is immediately noticeable when viewed as a whole. A paint pen or small artist’s brush for touch-ups after removing the tape is worth having on hand, since geometric patterns often reveal small gaps or bleed-through that need correcting. This idea suits homeowners with some patience for detail work, and it makes the strongest visual impact on open staircases fully visible from an adjoining room.
Faux Runner Painted Down the Center: A Rug Effect Without the Rug

Painting a contrasting stripe down the center of each tread, mimicking the look of a traditional stair runner, adds visual interest and a sense of tradition without the cost or maintenance of an actual carpet runner. This idea works particularly well on stained wood stairs, where the painted stripe stands out clearly against the surrounding natural wood.
A stencil or carefully measured tape guide, rather than freehand painting, keeps the stripe’s edges straight and consistent from the top step to the bottom. This works particularly well in traditional and colonial-style homes, where an actual fabric runner might already be a familiar design element the painted version is standing in for. This idea suits stairs that see moderate rather than heavy daily traffic, since a painted surface, unlike carpet, doesn’t provide the same cushioning or slip resistance underfoot.
Distressed or Weathered Finish: A Rustic, Lived-In Look

A distressed paint finish, achieved by lightly sanding through the top coat in areas of natural wear after painting, creates a rustic, aged appearance that suits farmhouse and cottage-style interiors particularly well. The technique deliberately introduces imperfection, which makes small scuffs and marks from daily use blend into the finish rather than standing out against it.
This works particularly well on older staircases with some existing wear already visible, since the distressing technique can be planned around and enhance flaws that are already there rather than trying to hide them. Sanding primarily along the edges of each step and at natural contact points, rather than randomly across the surface, mimics the way wear actually accumulates over years of use. This idea suits homeowners who prefer a finish that won’t show new scuffs as obviously as a fully smooth, glossy paint job would.
Painted Spindles in a Contrasting Color: Detail Work That Frames the Staircase

Painting the spindles — the vertical balusters beneath the handrail — in a color distinct from the rest of the staircase adds detail without requiring a full repaint of the treads or risers. Because there are usually many individual spindles on a single staircase, this update takes longer in terms of the number of pieces to paint, even though each one is relatively small.
A small angled brush, rather than a roller, is necessary for painting spindles cleanly, since their narrow, often turned shape doesn’t accommodate a roller’s flat surface. This works particularly well when the existing wood tone of the treads and handrail is worth preserving, letting the spindles carry the color update instead. This idea suits traditional staircases with turned or detailed spindles especially well, since the shape itself becomes more visually interesting once picked out in a contrasting shade.
Chalkboard Paint on a Kids’ Staircase: A Playful, Functional Twist

Applying chalkboard paint to the risers of a staircase, particularly in a family home, turns each step into a small writable surface for kids to draw on, count steps, or leave notes. This is one of the more playful, less permanent-feeling ideas on this list, since chalkboard surfaces are inherently meant to be drawn on and erased repeatedly.
This works particularly well in homes with young children, where the staircase becomes an extension of creative play rather than purely a functional passage between floors. A specialty chalkboard paint, rather than a standard chalk-effect finish, is worth the extra cost, since true chalkboard paint erases far more cleanly and holds up better to repeated chalk use. This idea suits family staircases away from the main entryway, since a chalkboard finish in a formal entrance can feel out of place compared to more polished treatments elsewhere in the home.
Metallic Accent on a Single Step: A Small, Luxe Detail
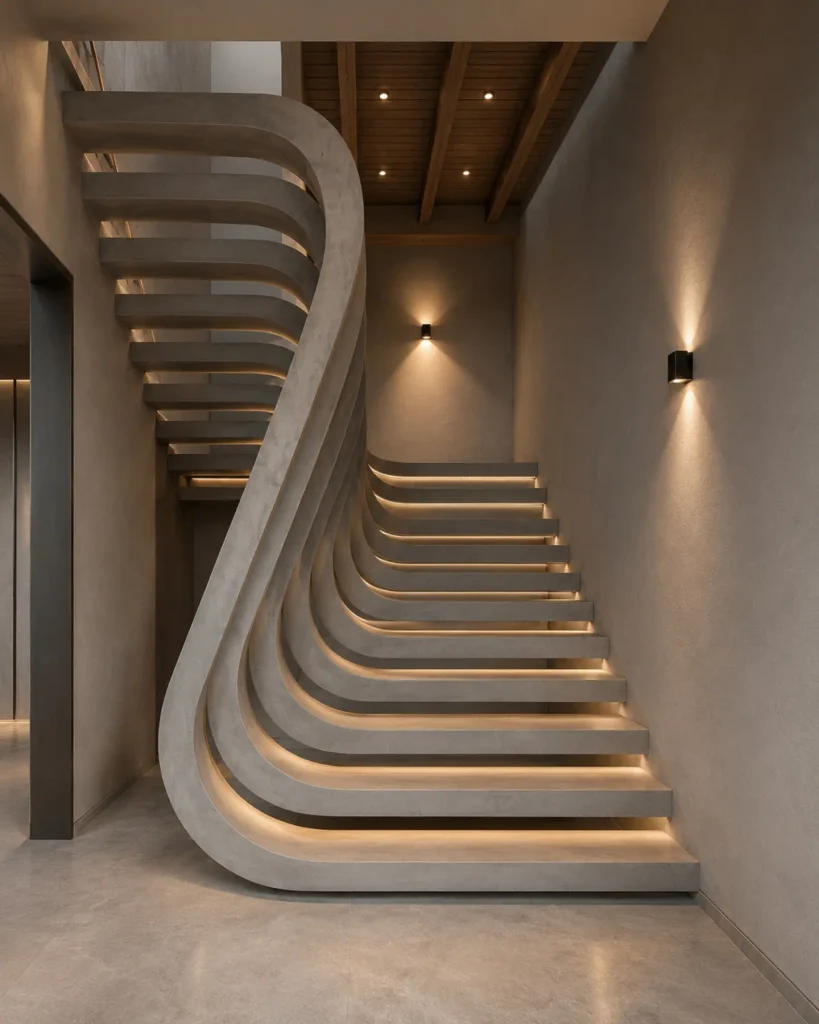
Painting just one step — often the bottom or the very top — in a metallic gold, copper, or bronze finish adds a small, luxe detail without requiring metallic paint across the entire staircase. This idea works as a subtle surprise element, noticeable mainly to anyone paying close attention rather than dominating the overall look of the stairs.
This works particularly well on the bottom step specifically, since it’s the first surface someone notices when approaching the staircase from an entryway or open living space. A metallic paint formulated for floors rather than walls is worth seeking out here, since standard decorative metallic paints aren’t built to withstand the direct foot traffic a step receives. This idea suits homes with metallic accents already present elsewhere, such as light fixtures or hardware, since the painted step can echo those existing finishes rather than introducing a new one.
Choosing the Right Products for a Painted Staircase
Product choice matters more with a staircase than with almost any other painted surface in the home, since treads specifically endure constant foot traffic, dropped objects, and cleaning in a way walls and trim never do.
A hardwearing floor-and-porch enamel, rather than standard interior wall paint, is essential for treads and any horizontal surface people walk on directly. A durable primer applied beforehand, especially on stairs with existing wear or a glossy prior finish, helps the new paint adhere properly and resist chipping. For risers, spindles, and handrails — surfaces that see contact but not direct foot traffic — a satin or semi-gloss interior enamel offers a good balance of durability and a finish that wipes clean easily.
Application technique carries as much weight as product choice. Painting every other step first, allowing full drying time before painting the remaining steps, keeps the staircase usable throughout the project rather than closing it off entirely for days. Skipping a proper primer or rushing the drying time between coats is the most common mistake in this category, since it’s what leads to chipping and premature wear on a surface that gets used dozens of times a day.